Showing posts with label Wedding. Show all posts

Friday, 14 August 2015

Wedding favours and table numbers

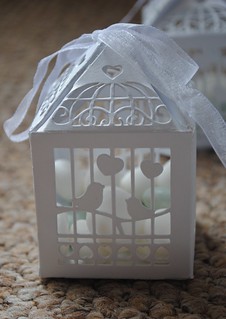
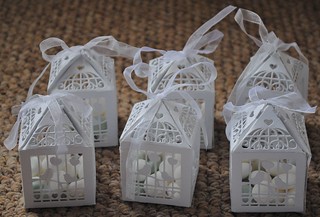
For my wedding the theme colour is mint, therefore, I decided that the favours should obviously be mints. I used a mix of mint imperials (£1.00 for a bag) and spearmint mentos (£1.00 for five packets). I wanted to use the mentos against the mint imperials as the mentos have the correct colour of the wedding as it's coating. The wedding favour boxes were £2.49 per pack of 10, I needed only four packets. These were flat and needed to be folded up into boxes, this was so so time consumingas they were fiddly, but I was lucky to have family to help me.
DSC_0077 DSC_0074

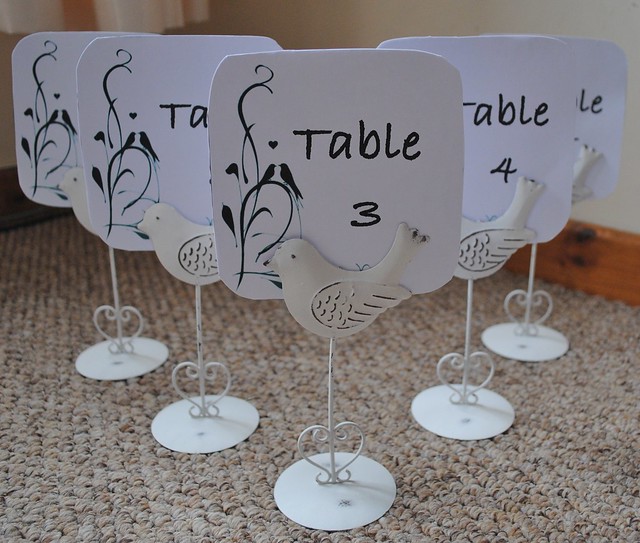
For the table number holders I went online and searched for frames, as I have seen others use these to present the numbers. Although they were not as cheap as I thought so I then came across these bird memo holders and they were cheaper and matched with my wedding theme. For the numbers I created these on my computer then they were printed onto white card.
DSC_0070

DIY wedding photo-booth

As I have seen recently the trend for weddings is to have a photo-booth, however, the ones you can hire cost a bomb . For a wedding you want to try and save where you can as it can all add up. Therefore, my sister and I decided to create a photo-booth for my wedding.
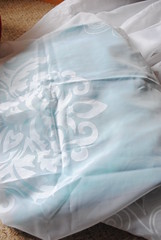
My sister is a photographer and has a backdrop frame, all I needed to do was get material for the backdrop. We went into a cheap store which sell homeware, we purchased one plain blue bed sheet and a opaque white curtain . The white curtain calms down the blue as I did not want to have it too loud (I want the props and guests to stand out).
DSC_0090
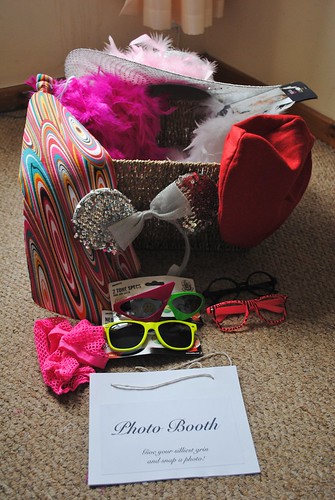
For props I went into 'Chaplins' again as they are cheap and have a large dressing up section. I just picked up random hats, glasses, I got some feather boas and I added in bits that I already had (such as the minnie mouse ears). The basket was being sold as a laundry basket but I thought it would be useful to hold the props.
DSC_0085
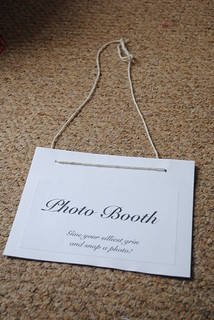
On the big day I will be using a tripod and my compact digital camera to let the guests take thir pictures. I have created a sign which will hang from the tripod for all to see.
DSC_0088

Wedding table plan

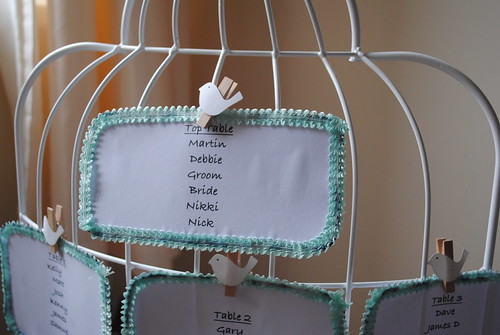
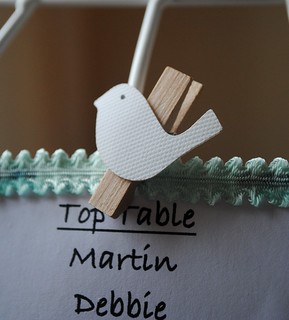
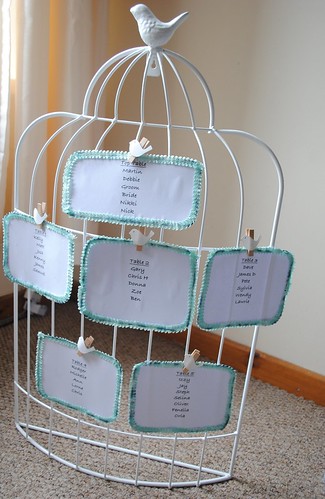
My wedding is literally 2 Weeks away !!! So I have been very busy putting everything into place and making sure every fine detail is perfect . Today I made my table plan which will be placed by the entrance of the venue, where guests can find their seats easily . For my seating plan I randomly came across the birdcage frame from 'Chaplins' (a cheapy store where I managed to get bits and bobs for wedding), it was supposed to be a photo/picture holder.
DSC_0068 DSC_0069 DSC_0066

Saturday, 27 June 2015

My Wedding invites

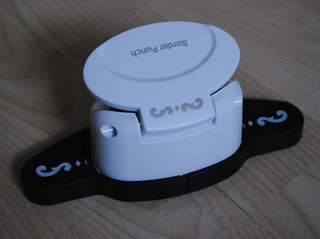
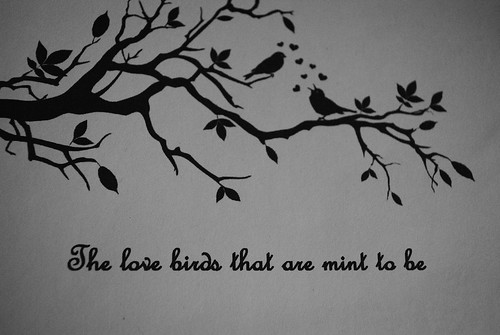
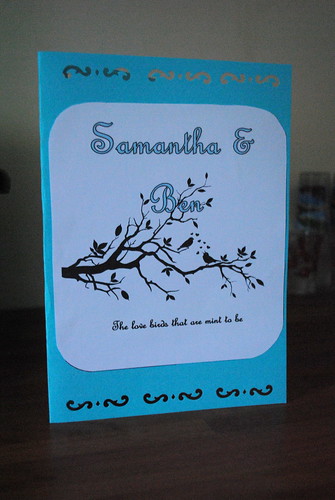
I thought that I would show off my wedding invites which I sent out to all my guests in March. I decided to save some money here by making my own invites as I love doing crafty activities (handy when working with children). I only needed to buy blue mint coloured card bought cheap online, a fancy border puncher (£2 in local 'Range' store, glue and envelopes.)

DSC_0055

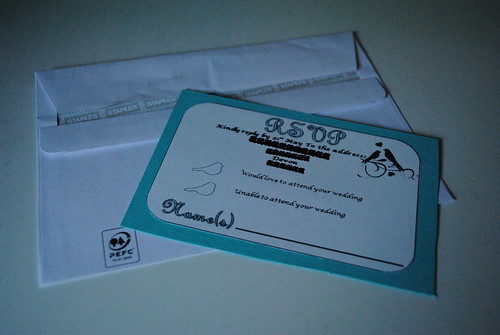
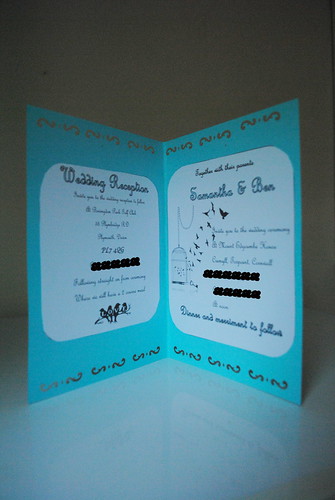
I used my mad IT skills to put together the text for the invites and images to make it look pretty. The information I made sure I included was; the wedding theme name (Love birds that were mint to be), date of wedding, addresses of reception and ceremony, time of the ceremony and reception and lastly the RSVP card with a little envelope. Some of the guests were only invited to the reception, whereas, the others were invited to the ceremony followed by reception so I had two sets of invitations.

DSC_0049DSC_0048
DSC_0045 DSC_0047
Follow my blog with Bloglovin

Monday, 8 June 2015

Wedding make-up trial

80 days and 15 hours until our big day!!
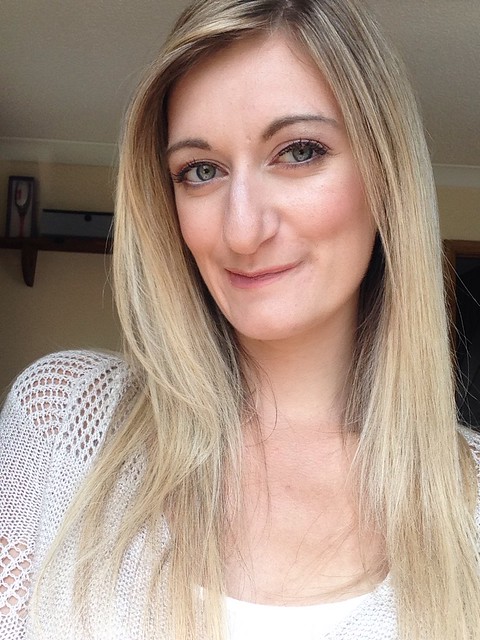
Today, I had my make-up trial for the wedding and was very excited but nervous as I do not wear makeup normally. Luckily the makeup artist I had was very lovely and understood that I wasn't used to make-up, so she used subtle, natural colours. She contoured my cheeks perfectly on only half my cheek bones as I did not want colour on my cheeks as my cheeks go red easily (so I didn't want to add more to emphasis the colour in my cheeks). In the past I have had blepharitis and have a scar from when I had treatment on my eye lid, which I am greatly self conscious about, my make-up artist soon made this non-existent. As many of my flaws were covered up I feel more confident that I will look like a beautiful, blushing bride. All my worries of being in front of all our friends and family have gone away.
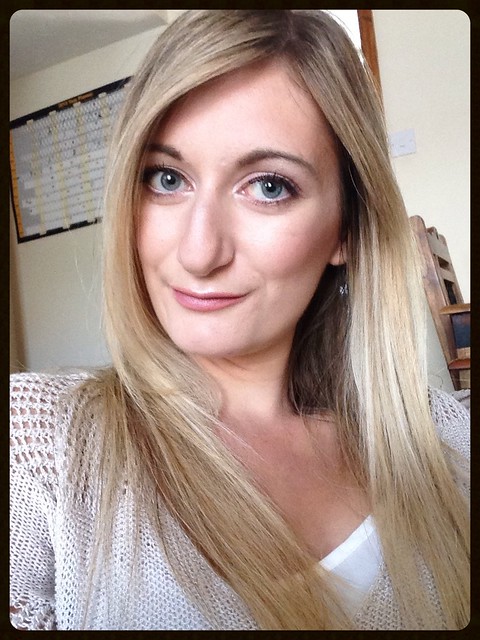
image image
Cannot wait to see my hair, make-up and dress all put together!